Simply J and K's Guide to Nordic Shiplap Walls

Shiplap! I honestly just adore it. It's clean, simple, full of texture and somehow manages to look good in houses of every style: Scandinavian, Farmhouse, Traditional, Mid-Century Modern. You name it -- shiplap can work in it.
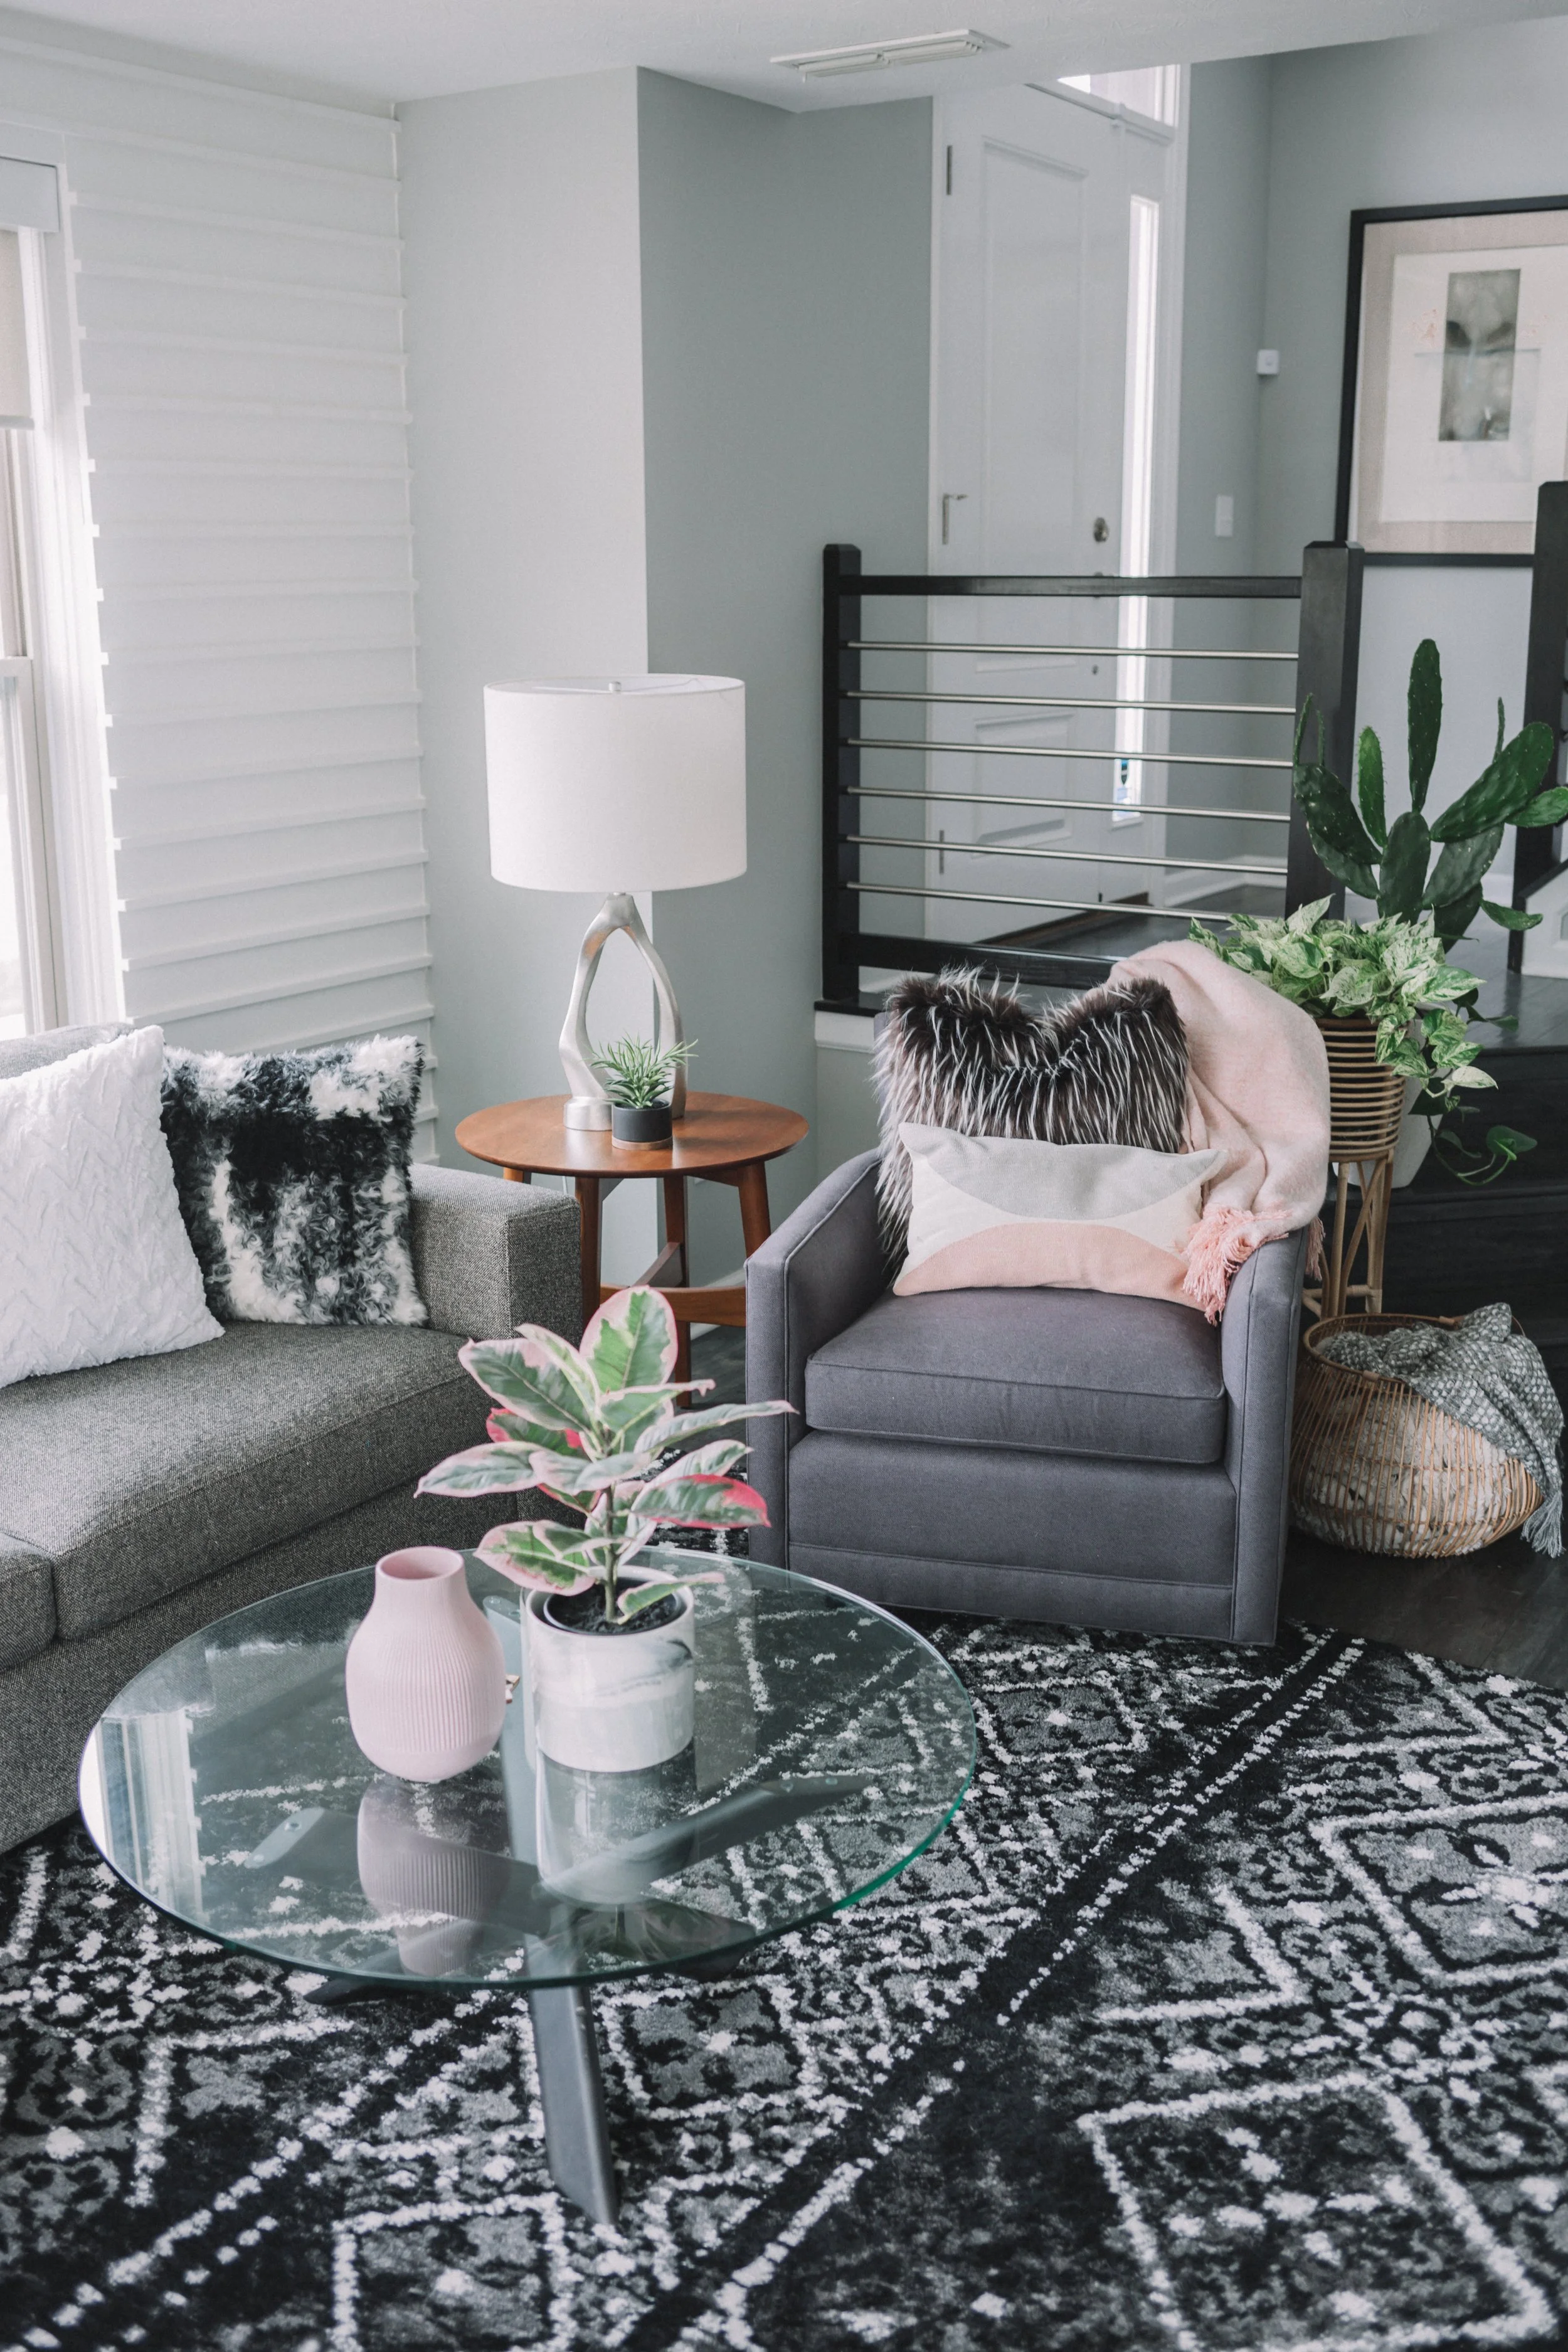
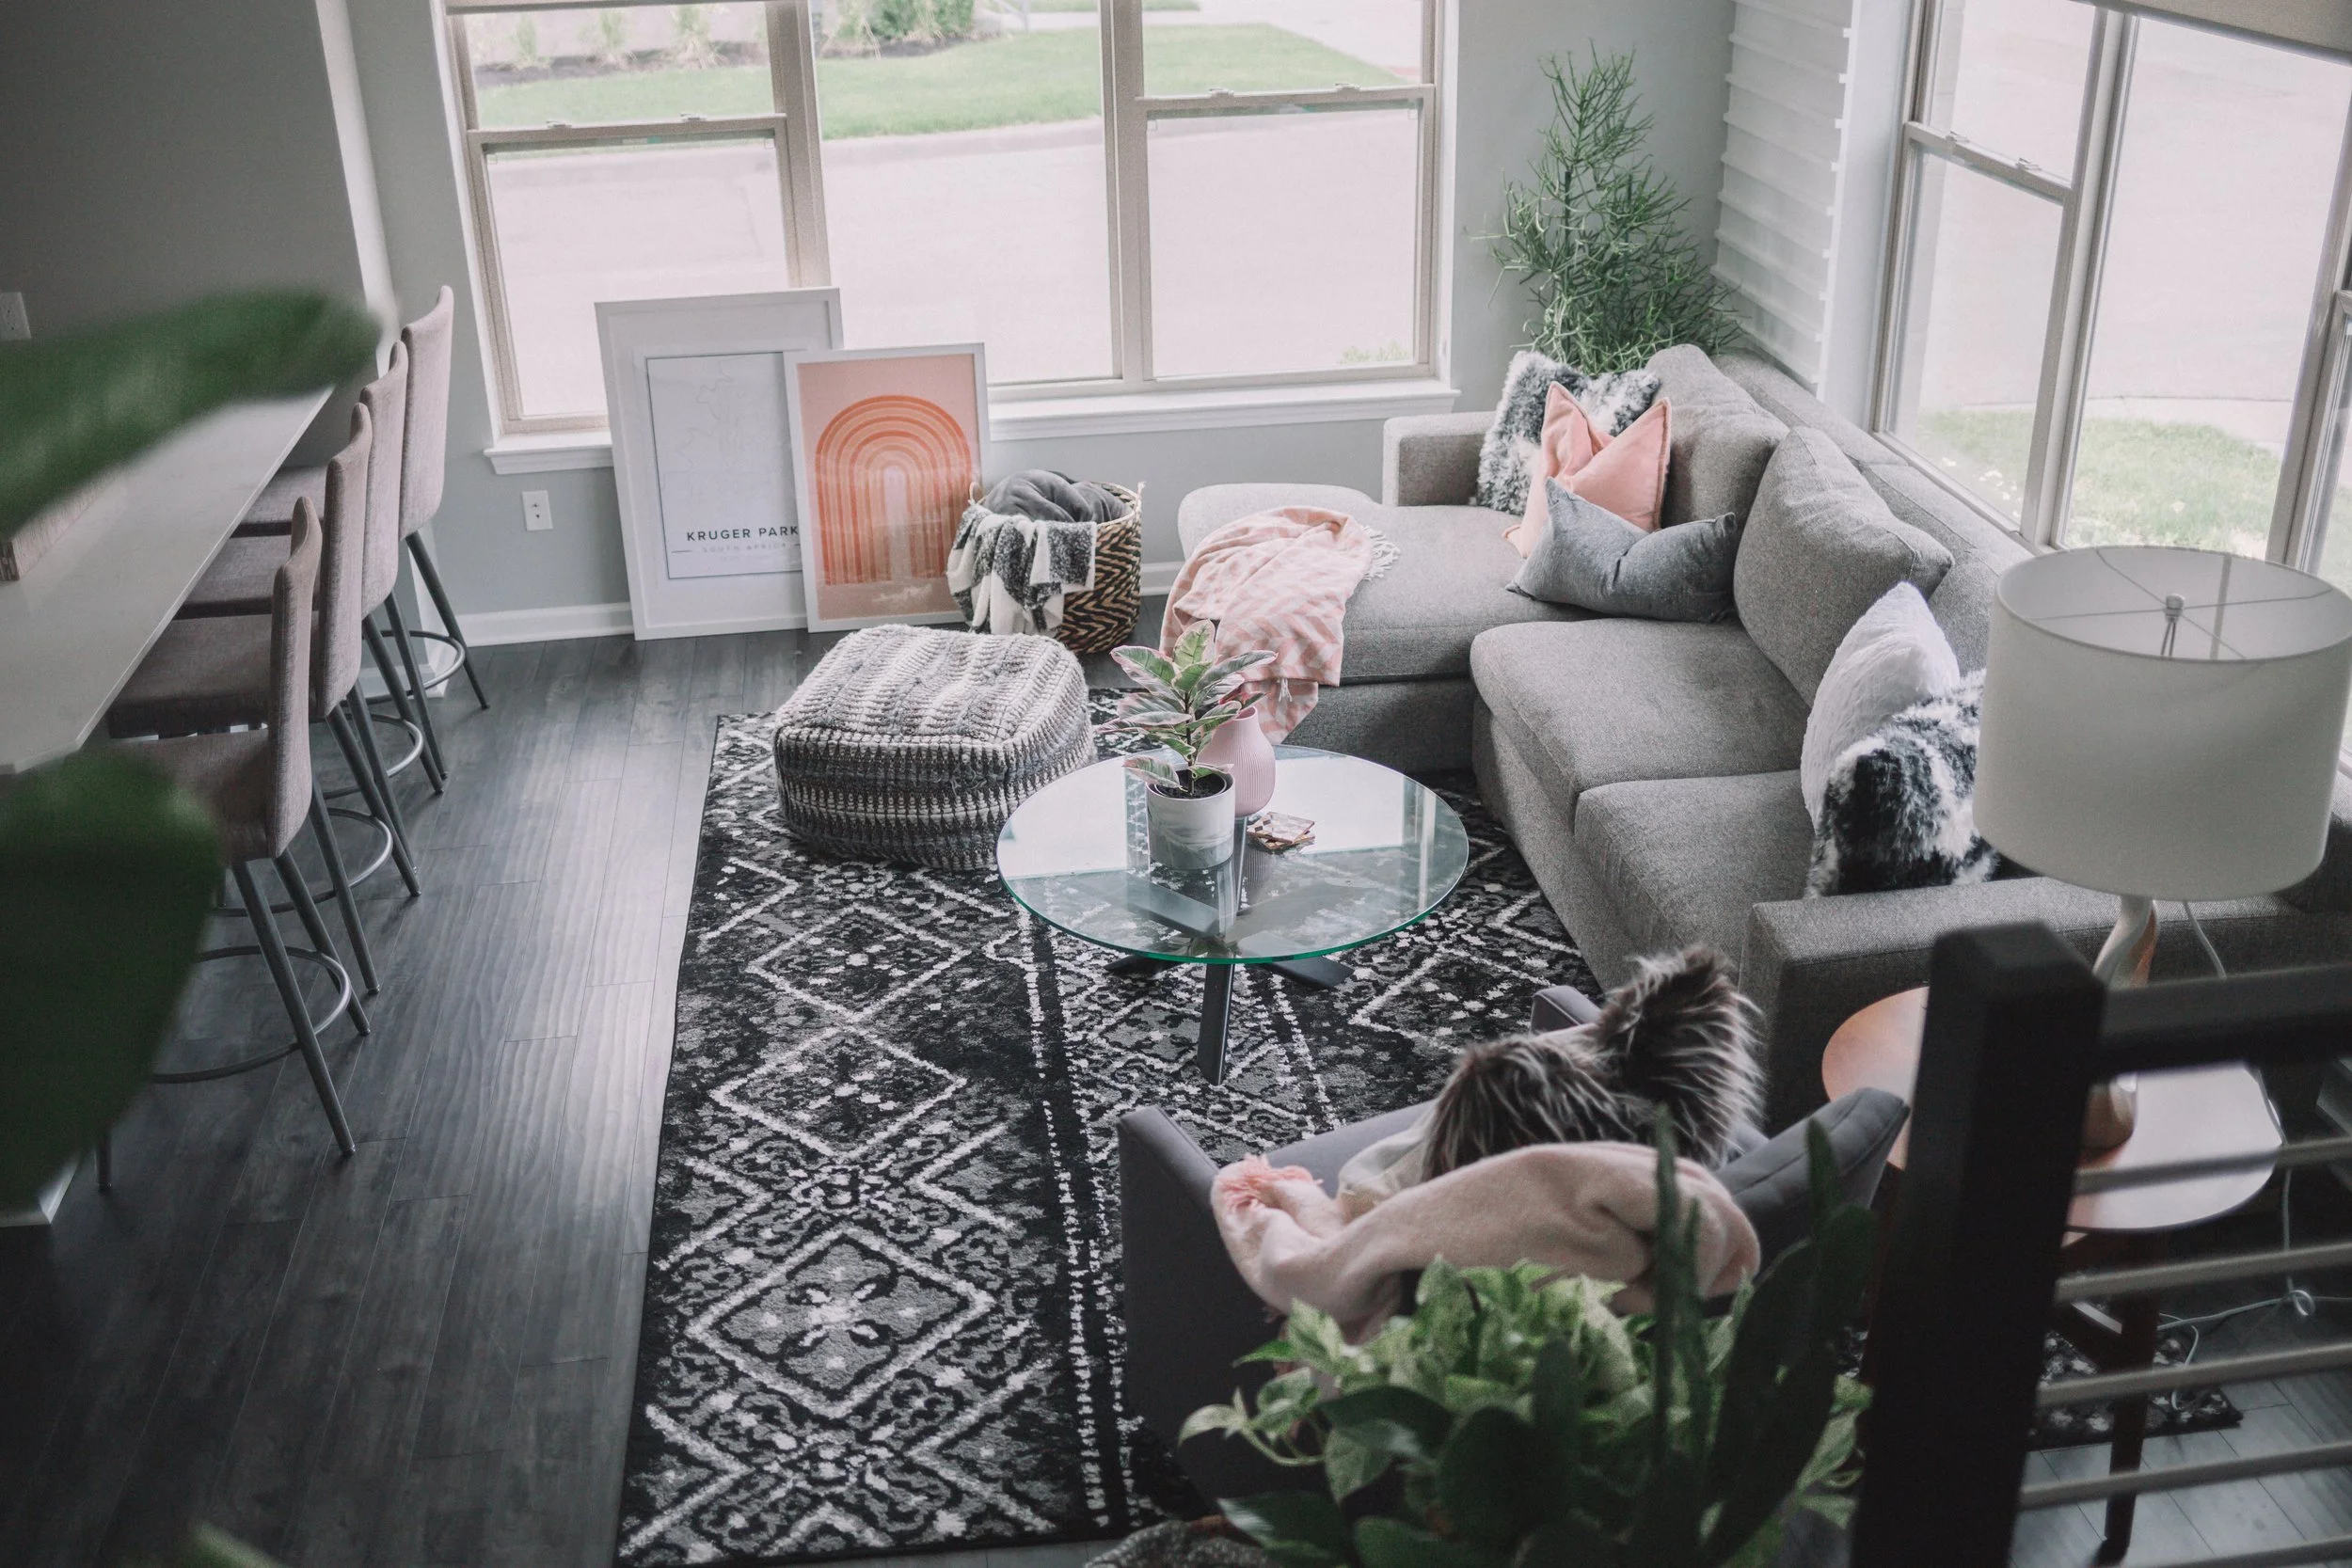
Shiplap has a unique way of adding visual interest to a room without taking away from the rest of the space or looking too formal. And, it can be applied almost anywhere from large walls, to fireplaces, bathrooms and laundry rooms. Lately, our home had been looking a little bit too grey for my liking, so I set out to find a wall treatment that would add texture without taking away from our Scandinavian inspired space. I knew I didn't want to recreate the same old shiplap walls you see EVERYWHERE, so I opted for a nordic take instead and LOVE how ours turned out. We based them off of this Scandinavian wall I found on Pinterest, but wanted it to be a little bit more polished looking for our space.
Admittedly, my husband Jordon and I are not the most handy. We've never attempted any home renovation project beyond wallpaper (here and here), so we were a bit nervous to try something new. I don't want to sugarcoat it: For two beginners, this project did take some time and definitely had a learning curve. We thought it would take about a week BUT it ended up being a month from start to finish due to one of us needing a break and work lives being busy. But, it was 100% worth it. Total, i'd say it cost $400-$500 and we borrowed all of our tools. So, keep that in mind if you do want to try this out on your own!
We chose to use 1x4 boards and 1x2 boards for the wedge pieces. But, I also think that 1x6 would work really well. You can easily use the cheap wood (we did), because the look you're going for is a little more worn in, weathered and textured looking.


SUPPLIES WE USED:
Wood (about 40 of each board)
Nail Gun + Compressor
Table Saw
Nails
Caulk
Nail Hole Filler
Paint (White or Black is my recommendation)
HOW WE MADE THE NORDIC SHIPLAP WALL:


We started by painting all of the boards white. The vertical boards needed painted on one side and the horizontal smaller boards needed three sides painting. We used Sherwin Williams White Semi-Gloss paint and did 3 coats per board.
After painting, we put marks where the studs were so that the end of each board could be on a stud. This was a tip from a builder friend of ours who told us it will keep the boards from bowing. Once we marked it all out, we started with the vertical larger board right against the baseboard and worked our way up. I'd recommend stopping every two boards to make sure you are level. Note: this is especially important if you are working around a window.
The trickiest part was cutting around the window and blinds, and that's really where the table saw came into play. Just make sure to be extra careful if you have a similar wall!
And, that's it! It seems daunting, and at times it was, but I just LOVE how this Nordic Shiplap Wall turned out. What do you think?
XO,
K